A gallery wall is an excellent way to inject personality, color, and memories into your living space. However, hanging multiple frames so they look balanced, aligned, and professional is easier said than done. One crooked frame or uneven gap can ruin the entire visual effect, turning a design feature into an eyesore.
1. The Layout: Paper Templates and Floor Layouts
Before driving a single nail into the wall, lay your frames out on the floor. Arrange them until you find a balance of sizes and orientations that feels right. Once decided, trace each frame onto kraft paper, cut out the templates, and tape them to the wall using painter's tape. This allows you to stand back and evaluate the scale and spacing before hanging.
2. Choosing Anchors: Plasterboard vs. Studs
Large frames, mirrors, and canvas prints can be heavy. Heavy artwork should ideally be screwed into wall studs. If a stud isn't located where you need it, you must use self-drilling plasterboard anchors or hollow-wall toggle bolts. Standard brass nails will slowly pull out of drywall under constant load, resulting in damaged walls and broken glass.
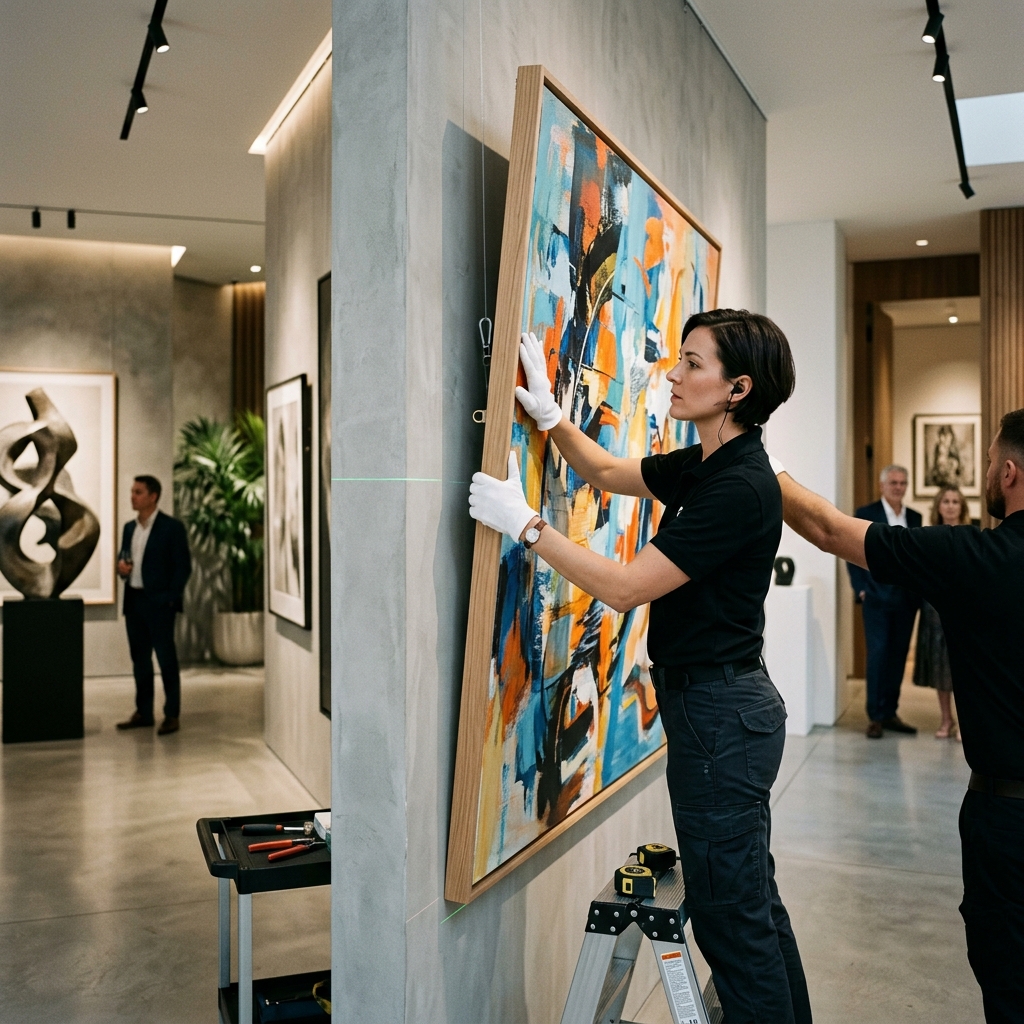
3. The Center-Line Rule and Leveling
To keep your gallery wall looking balanced, use a center-line height of 57 to 60 inches from the floor (eye level). Use a bubble level or a laser level to project a straight horizontal line across the wall. Measure and mark your hook offsets carefully from this reference line, ensuring every frame sits perfectly level.
Achieve Perfect Art Alignment
Don't turn your walls into swiss cheese. Book a vetted Helpero mounting specialist to lay out and hang your gallery wall with laser-precision.
Explore Mounting Services